
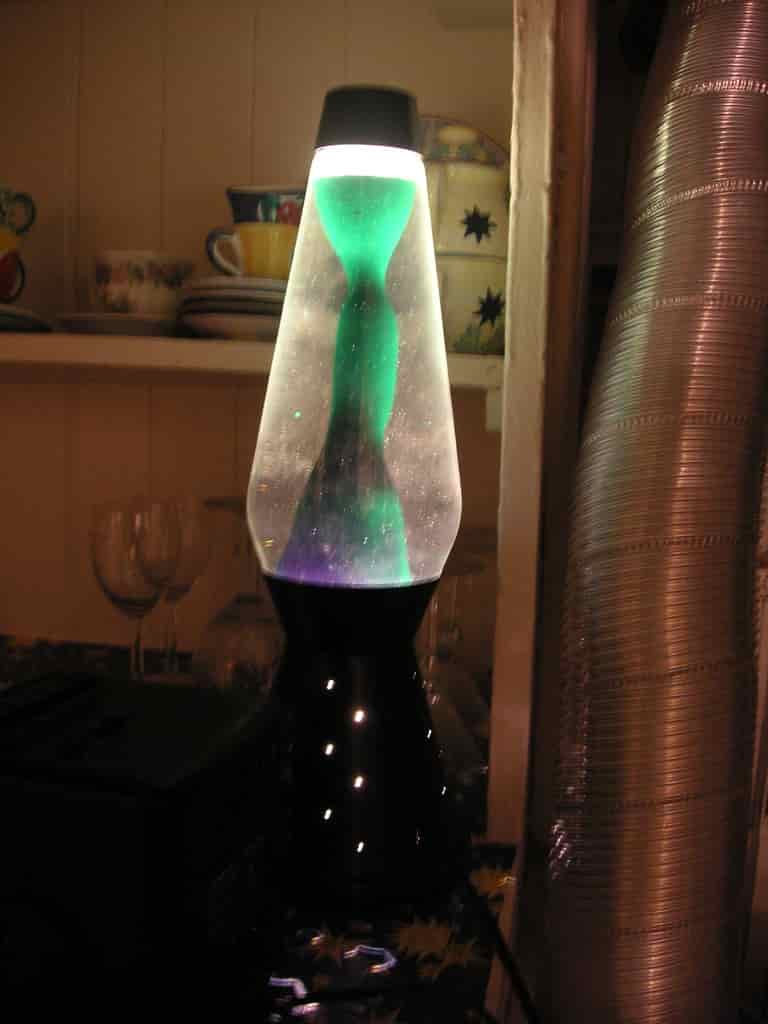
Do you want to get creative with your kids? One way to do that is by making a lava lamp with salt. It’s a fun and simple activity that will keep them occupied for hours! Plus, it’s the perfect way to teach them about chemical reactions.
Making a lava lamp with salt is easy and inexpensive. All you need are a few materials, including salt, vegetable oil, food coloring, water, and an empty bottle or jar. Here’s how to do it:
Contents
Making The Lava Lamp With Salt
Step 1: Gather Your Materials
The first step is to gather all the materials needed for your lava lamp. You’ll need:
- A jar or bottle
- Vegetable oil
- Salt
- Water
- Food coloring
Step 2: Fill Your Bottle With Oil and Water
Start by filling the bottom of your container with vegetable oil, then fill it up with water. The oil should be about two-thirds full. Do not mix the oil and water; instead, let them sit in separate layers.
Step 3: Add Salt
Now it’s time to add salt! Pour about a teaspoon of salt into the jar or bottle. As the salt begins to dissolve, it will sink to the bottom and create pockets of air between the oil and water. This helps the oil and water mix when it is agitated, creating a “lava lamp” effect.
Step 4: Add Food Coloring
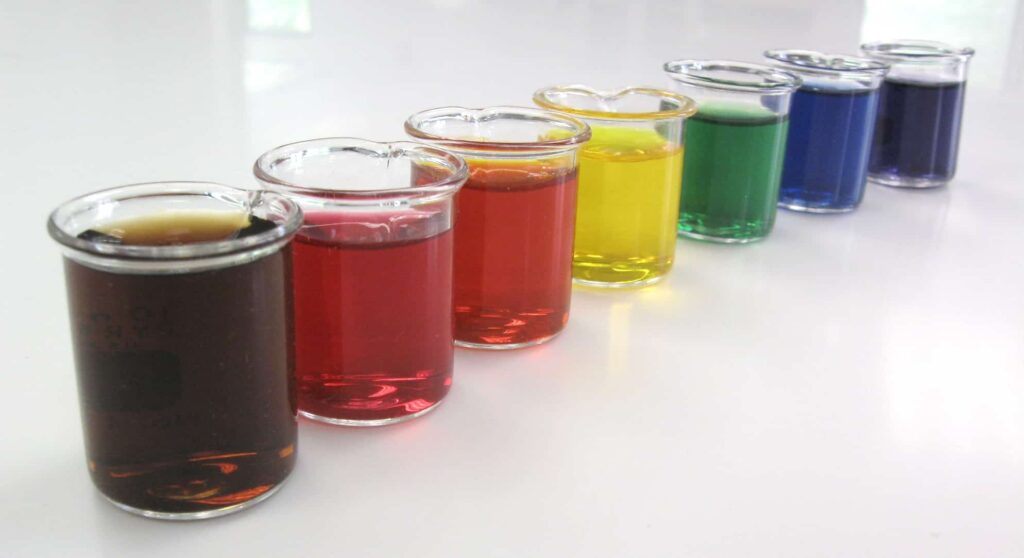
The last step is to add some food coloring to your mixture. You can use any color you like; just make sure that it is safe for consumption. Use a few drops of food coloring and mix it in with a spoon.
Step 5: Agitate The Mixture
Once everything is in place, the final step is to agitate the mixture. You can do this by shaking the bottle or jar, or simply dropping an object into it (a spoon works well). As you agitate the mixture, watch as the oil and water mix and create interesting patterns.
Step 6: Enjoy Your Lava Lamp!
And that’s it! Now you can enjoy your lava lamp. You can experiment with different colors and amounts of salt to see what kind of effect they have on the mixture. Have fun with it, and don’t forget to take a few pictures for memories!
Variations
There are also some variations you can make to your lava lamp. For example, try adding glitter or sequins to your mixture for a bit of sparkle. You could also fill the bottle with different liquids such as milk or juice for a unique effect. Be creative and have fun!
Safety Tips
Before getting started on your lava lamp project, it is important to take a few safety precautions. Make sure you are working in an area that is well-ventilated and away from any open flames. Wear gloves and goggles if necessary, and keep any young children supervised at all times.
Additionally, make sure to dispose of the mixtures safely after use. Following these simple safety tips will ensure you have a successful and safe DIY project!
The Science Behind a Lava Lamp
Have you ever wondered how a lava lamp works? It’s actually pretty simple! All you need is a lamp, some oil, water, and salt. Here’s a quick rundown of the science behind a lava lamp.
The science behind a lava lamp is based on the principles of density and solubility. The oil is less dense than the water, so it floats to the top. Salt has a higher density than both oil and water, which causes it to sink to the bottom.
When the salt dissolves in water, it creates pockets of air between the oil and water layers. This causes the oil to rise up, creating the “lava lamp” effect. As you agitate the mixture, more air pockets are created which helps keep the layers separated.
Related Topic: Lava Lamp Kits: Top-7 Products For A Relaxing Home
How Does it Work?
Now it’s time to watch your lava lamp come to life! Gently turn the bottle upside down and back again a few times. The food coloring will start to separate from the oil and float to the top of the water.
As you continue to turn the bottle, the colored droplets will begin to clump together and fall back down into the oil. The salt will help keep them suspended in the liquid so they keep falling back down and rising up again.
Related Topic: How To Make A Homemade Lava Lamp Without Alka Seltzer
Conclusion
Making a lava lamp with salt is a fun and creative DIY activity that is sure to bring out your inner scientist. All you need are a few simple ingredients and you can have hours of fun experimenting with different colors, amounts of salt, and variations. So what are you waiting for? Get started on your own DIY lava lamp project today!
Related Topic: Lava Lamp Kits: Top-7 Products For A Relaxing Home
FAQs
How does a homemade lava lamp work with salt?
To make the lava lamp work, salt is added to the water. The salt lowers the boiling point of the water, which causes the water to boil at a lower temperature. This causes the food coloring to rise to the top of the bottle and creates a lava-like effect.
What happens when you add salt to a lava lamp?
Adding salt to a lava lamp creates an interesting effect. The salt reacts with the heat of the lamp, causing the lamp to glow brighter. The salt also makes the lava seem to move more slowly, creating a relaxing effect.
Can you use table salt in a lava lamp?
You can use table salt in a lava lamp, but it won’t work as well as Epsom salt. Table salt is made up of larger crystals, which means that it will take longer to dissolve in the water. This means that the lava lamp won’t be as effective at creating the “lava” effect.
Does salt mix with oil?
No, salt does not mix with oil. When you add salt to oil, the salt will sink to the bottom of the container.
Q: How long does it take for the lava lamp to work?
It usually takes about 10 minutes for the lava lamp to start working. However, it may take longer depending on the amount of salt used and how much food coloring was added. Just be patient, and you should see the effects soon enough!
5 thoughts on “How To Make A Lava Lamp With Salt? Fun and Creative DIY Activity”