
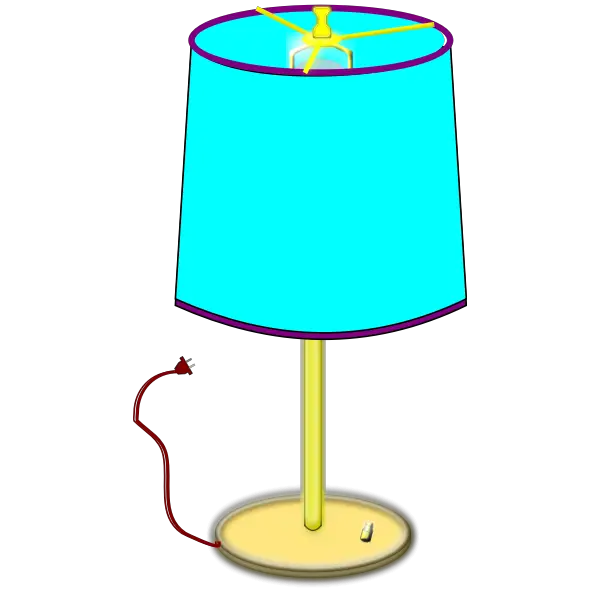
Lamps are important fixtures in our homes, offices, and other spaces. They provide us with essential light for carrying out various activities. However, over time, the neck of a lamp can become loose, making it difficult to adjust or keep the lamp in place.
This can be frustrating and even dangerous if the lamp falls over. In this guide, we will discuss how to tighten a lamp neck and ensure your lamp stays secure and functional.
Having a secure lamp neck is crucial for the overall functionality and safety of your lamp. A loose or wobbly neck can cause the lamp to fall over, potentially causing damage to the lamp itself or any nearby objects.
It can also pose a safety hazard, especially if there are children or pets around who may accidentally knock over the lamp.
Contents
Risks associated with a loose lamp neck
As mentioned earlier, a loose lamp neck can pose various risks, including potential damage to the lamp and other objects in its vicinity, as well as safety hazards. Additionally, if left unrepaired, a loose neck can lead to further damage and decrease the lifespan of your lamp.
Identifying a Loose Lamp Neck
Signs of a loose lamp neck
Before we dive into the steps for tightening a lamp’s neck, let’s first identify if your lamp has a loose neck. Here are some common signs to look out for:
- The lampshade is tilting or not level
- The neck of the lamp wobbles or sways when touched
- The base of the lamp moves easily when pushed
If you notice any of these signs, it’s likely that your lamp has a loose neck and needs to be tightened.
How to Test for Looseness
The best way to test for a loose lamp neck is to physically inspect the lamp. Here are some steps you can follow to check for looseness:
- Hold the Lamp Base: Grasp the base of the lamp securely with one hand. Remember to unplug the lamp before carrying out this test to avoid any potential accidents.
- Wobble Test: With your other hand, gently try to move the neck of the lamp back and forth and observe how it responds. If it wobbles excessively or can be moved with minimal pressure, it confirms the neck is loose.
- Shake Test: You can also conduct a shake test. Gently shake the lamp back and forth. If you can hear a rattling sound or if the lampshade jiggles excessively, it is a clear sign of a loose neck.
Tools Needed
List of tools required for the task
To tighten a lamp neck, you will need the following tools:
- A screwdriver (flathead or Phillips depending on your lamp’s screws)
- Pliers (optional)
- Gloves (optional but recommended for safety)
Safety precautions when handling these tools::
- Always wear gloves to protect your hands from cuts and scratches.
- Make sure the lamp is unplugged before starting any repair work.
- To avoid electrical shocks, make sure there are no exposed wires or connections.
Step-by-Step Procedure
1. Unplugging the Lamp and Removing the Lampshade
Before you begin the process of tightening a loose lamp neck, make sure to unplug the lamp first to mitigate the risk of electrical shock.
Unplug the Lamp: Carefully remove the plug from the power socket. If the cord is tangled or long, it is advisable to tie it up loosely to prevent any tripping hazards during the repair process.
Removing the Lampshade: Next, you will need to remove the lampshade. This step not only makes it easier for you to access the loose neck but also protects the lampshade from any potential damage during the repair process.
Depending upon your lamp model, you can usually unscrew the finial (the decorative knob on top) and carefully lift the shade off.
Step 2: Adjusting the Harp
The harp is the metal loop that holds the lampshade in place, and it’s directly connected to the lamp neck. With your lamp unplugged and gloves on, gently grasp the harp with one hand. Using your other hand, slowly start to wiggle it to check for any looseness.
If the harp feels loose, carefully unscrew the top of the harp from the saddle (the harp’s base). Once the top is removed, you can adjust the fit by squeezing the harp sides closer together or pulling them apart slightly.
After adjusting, reattach the top of the harp to the saddle by screwing it back on. Check the fit again. Repeat this process until the harp is secure but not overly tight, as this could damage it.
Step 3: Tightening the Neck
The neck of the lamp is the part that often becomes loose, causing the lamp to wobble. Once the harp is securely adjusted, it’s time to focus on the neck.
Identifying the Neck Assembly: The lamp neck usually consists of a tube and a set of tightening nuts. It’s essential to understand where these parts are before starting the tightening process.
Tightening the Neck: Put on your gloves to protect your hands. Hold the base of the lamp with one hand and the tube of the neck with the other. Try to twist the tube clockwise gently. If it moves, continue twisting until it feels snug. If the tube doesn’t turn, look for a nut at the base of the tube. Using a wrench, carefully turn the nut clockwise until it’s tight.
Rechecking the Lamp: Once you feel the neck is secure, gently try wobbling the lamp to make sure it’s no longer loose.
Step 4: Reattaching the Harp and Lampshade
Positioning the Harp: After ensuring that the neck is secure, it’s time to reattach the harp. Align the harp’s base with the saddle and push it down until it fits snugly. The harp should be centered to ensure even distribution of light from the bulb. Then, screw the top of the harp back onto the saddle.
Attaching the Lampshade: With the harp in place, you can now attach the lampshade. Most lampshades have a small hole at the top through which the harp’s top fits. Guide the lampshade onto the harp, ensuring it sits evenly.
Securing the Lampshade: The final task is to secure the lampshade. Most lampshades have a finial – a decorative nut that screws onto the top of the harp, holding the lampshade in place. Screw the finial onto the harp until it’s secure, but be careful not to overtighten as it may damage the lampshade.
Final Check: With everything back in place, give the lamp a final check. Gently wiggle the lamp to make sure there’s no more wobbling. If the lamp still feels loose, it may be necessary to repeat the previous steps. But if everything feels solid, then congratulations – you’ve successfully tightened your lamp’s neck!
Related Topics:
Troubleshooting
Difficult to turn the nut: If you find it hard to turn the nut, try using a pair of pliers or leather gloves for better grip.
The lamp is still wobbly after tightening: This may be due to an underlying issue with the lamp’s design or construction. In such cases, it’s best to consult a professional electrician for further assistance.
Lampshade doesn’t sit evenly: If the lampshade appears crooked or uneven, try adjusting the harp’s position or tightening the finial more securely.
Difficulty attaching the harp to the saddle: Double-check that the harp and saddle are aligned properly. If they still don’t fit, you may need to replace a damaged harp or saddle.
Lampshade doesn’t fit onto the harp: If the lampshade is too small for the harp, you can purchase a shade riser to extend the height of the harp. If it’s too big, consider getting a new shade that fits properly.
The neck is damaged or broken: In rare cases, tightening the neck may reveal damage or a structural issue. If this happens, it’s best to discontinue use and replace the lamp entirely.
Related Topic: How to Replace a 3-way Lamp Switch
Conclusion
Tightening a lamp’s neck can seem like a daunting task, but with patience and the right tools, you can easily rectify the wobble. Remember to go slow, check regularly for stability, and don’t force anything that seems stuck or resistant. The troubleshooting section should address any common issues you might encounter.
If you still find difficulties, or if there are signs of damage, it’s always wise to consult a professional. With these steps, your lamp should be steady and secure, ready to light up your space once again. Happy tightening!
1 thought on “How To Tighten A Lamp Neck? Safely!”