
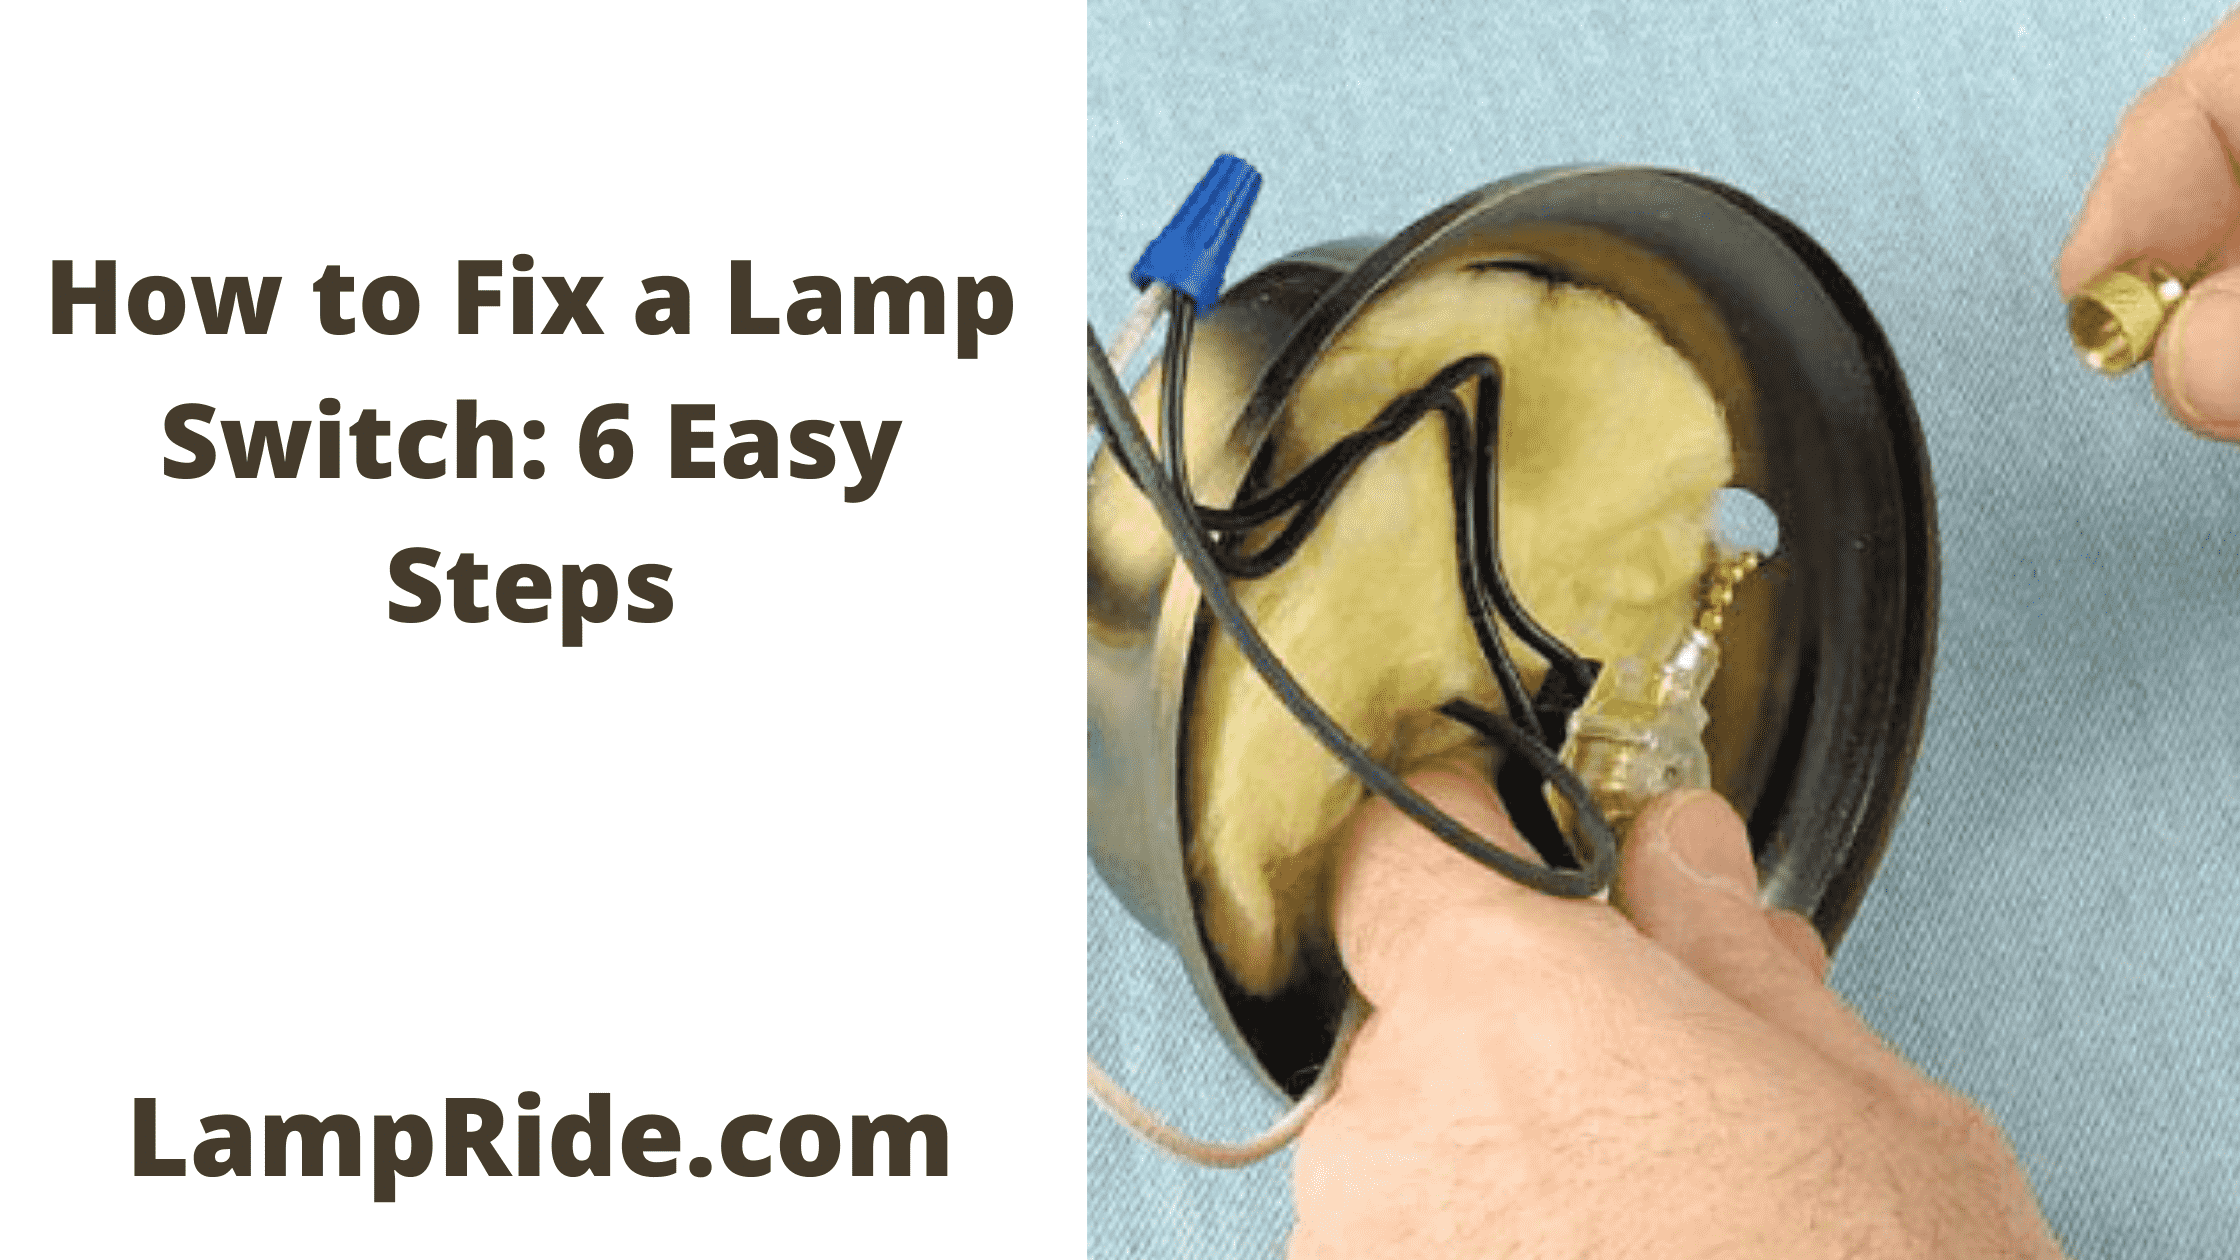
You probably don’t know how to fix a lamp switch. So, in this ultimate guide, I will teach you both how to replace a lamp switch and how to fix a lamp switch as well.
If you are dealing with a flicking lamp. You have to fix your lamp switch immediately.
Contents
Types of Lamp Switches
Rotary Switch
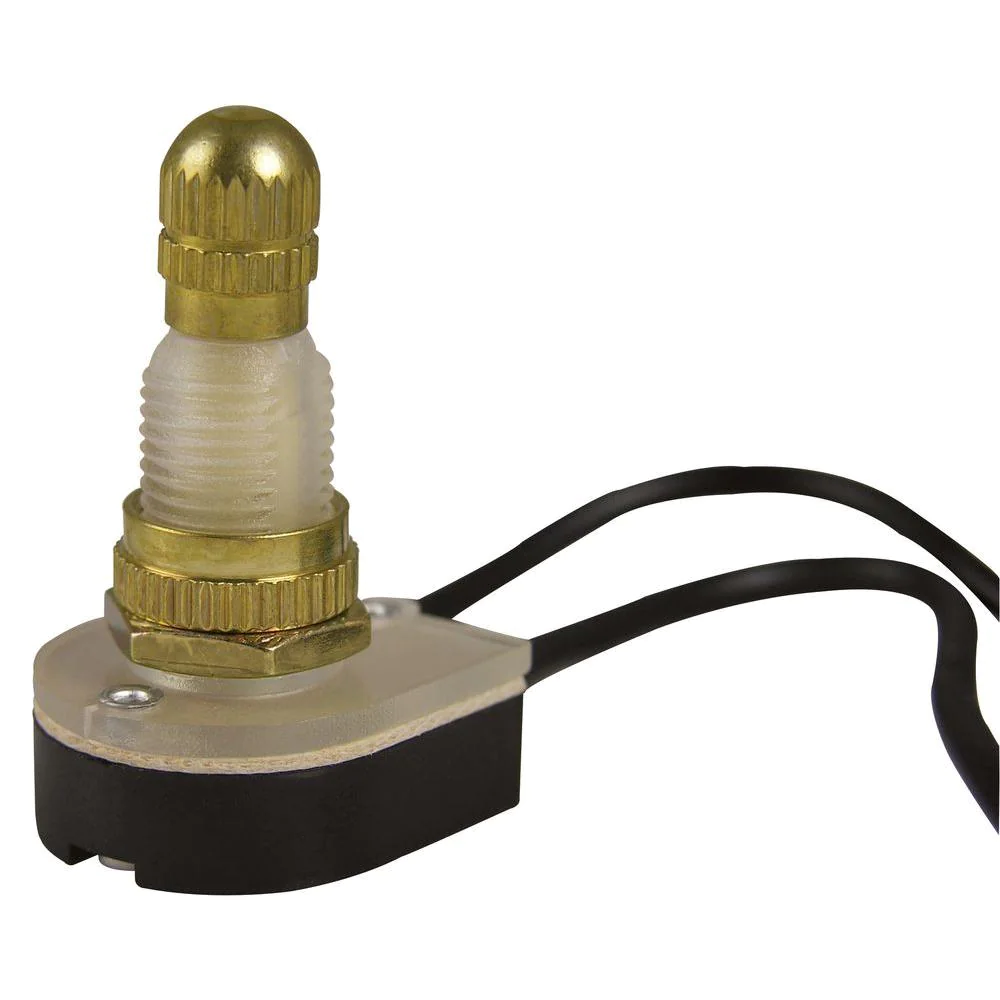
There are different types of lamp switches to on and off and a rotary switch is one of them commonly used. It consists of a threaded stem to which a plastic knob is attached.
While the other end of the threaded stem connects inside the light socket through a switching mechanism.
Usually, a rotary switch is used to control different electrical circuits with a single switch. Because it can move in a circle and is also stoppable in various positions. It is specifically designed to have many contacts happening at a time on a single switch position.
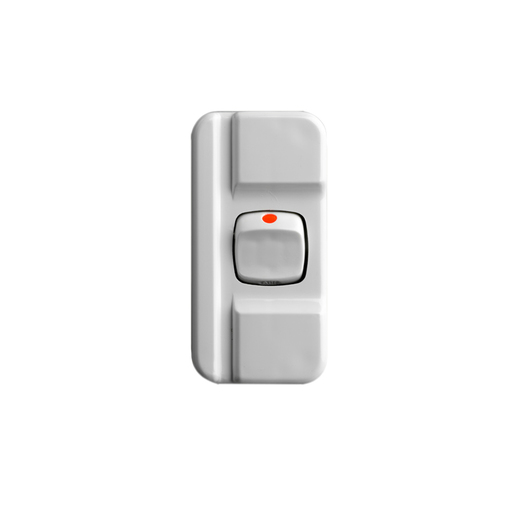
Rocker Switch

The other widely used lamp switch is a rocker switch that rocks instead of trips whenever pressed. So, that means one side of the switch will be raised and the other side will be down in both on and off conditions.
It may have a circle on one end to let the user know the lamp is on. While on the other end, it has a horizontal dash line that indicates the lamp is off.
Rocker switches are widely used in many other electronic devices like power supplies, home appliances, and more.
It has two different circuitry states, independent and dependent. Independent circuitry has a light-activated on the head of the switch that allows you to find the switch easily in the dark. And in the dependent circuitry, the light will be activated only when you turn on the switch.
Inline Cord Switch
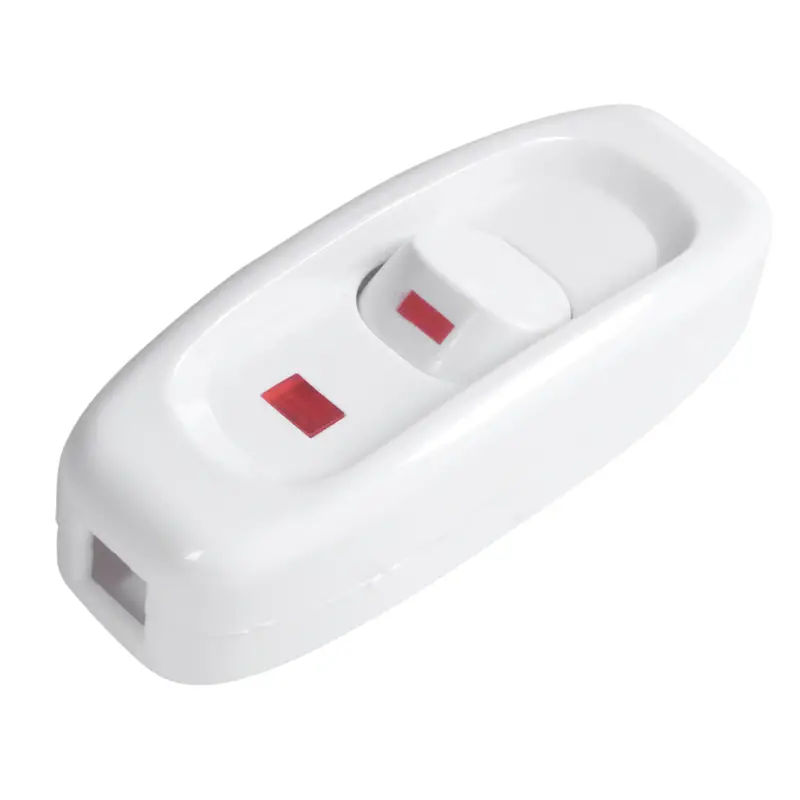
A lamp switch that can be installed on the lamp cord is known as an inline cord switch. This self-contained switch eliminates the difficulty to reach the knob on the base of a socket.
So, it will be more suitable for a lamp that is far from your bed like a floor lamp. It is specifically designed to interrupt the current flow by connecting and disconnecting a hot wire, especially to the lamps.
Cordline Switch
A switch has a double pole action with screw terminals and also earth through these screw terminals is called a cord line switch. To reduce the strain on the terminal connections it is specifically designed for round three core flexible cords.
Should you Fix/Repair or Replace a lamp switch?
Replacing a lamp switch is an easier and simplest project that can be tackled by anyone. Repairing a lamp switch could be a little bit difficult.
Replacing a lamp switch means you have to remove the old one and buy a new switch. But repairing is a process that leads to removing the fault from a lamp switch, you don’t need to buy a new one.
Simply fix the old one.
But you may not be able to repair a lamp switch by yourself. So, this would be a bad idea to repair a faulty lamp switch. Replacing it is a better option you should go with this.
How to Fix a Lamp Switch
Step 1: Unplug Lamp
The first step is to make sure the lamp is unplugged from its power source. This will help prevent any possible electrical shock hazard.
Step 2: Remove the Shade
Remove the lampshade. This will often be done by unscrewing the center finial, and then lifting the shade off.
Step 3: Unscrew Finial and Socket
Unscrew the finial from the top of the socket to expose two small screws. Use a Philips screwdriver to remove these screws and loosen the socket.
Step 4: Loosen Any Wires Connecting to Socket
Carefully look for any wires that may be fastened to the socket with screws or attached by wire nuts. Use a flathead screwdriver to loosen them. If necessary, use the wire cutters and/or strippers to remove the old wires before attaching the new ones.
Step 5: Insert New Switch
Carefully insert the new switch into the socket and secure it with the two small screws. Make sure to tighten them firmly but not too tightly.
Step 6: Reattach Wires (If Necessary)
Reattach any wires that were previously connected to the socket. If applicable, use electrical tape to secure the ends of the wires.
Step 7: Reassemble Lamp
Reattach the finial to the top of the socket and place the shade back over it. Secure with screws if necessary.
Step 8: Plug-in Lamp
Carefully plug your lamp back into a power source.
Step 9: Test Switch
Test the switch by turning it on and off multiple times to make sure it is working properly.
Congratulations – you have successfully replaced your lamp switch! Make sure to keep the new switch clean and free of dust or dirt buildup in order to ensure safe operation. With regular maintenance, your new switch should provide you with many years of trouble-free use.
Safety & Troubleshooting Tips
- Always be sure to turn off the power source before working on a lamp or electrical device.
- Wear protective glasses when working with electrical components.
- If the switch is not functioning properly, double-check all connections to make sure they are secure.
- If it still does not work, you may need to replace the switch with a new one.
- Be sure to dispose of any old wiring or components properly and in accordance with local laws and regulations regarding hazardous materials.
If you have any questions or concerns about this project, please contact an experienced electrician for help.
Replacing a Cord Switch
Step 1
- Determine the Switch size
To replace a cord switch first of all you have to determine the switch size you need. You can find it on the lamp cord in small printing form. You’ll find SPT-1 or SPT-2 which refers to the thickness of the lamp cord.
Step 2
- Cut the Wires
Determine the wires you have to cut because in some switches you only need to connect the hot wire. While in some switches you need to connect both hot and neutral wires. Cut the wires and remove the existing cord switch. Strip insulation off of the wires to connect them.
Step 3
- Match the wires
Matching the hot and neutral wires to the accurate screws is a crucial step in both cord switch replacement and socket switch replacement.
If there is only one screw that is for the hot wire. But if there are two wires then the hot wire will connect to the brass screw and the neutral wire will connect to the silver screw.
Avoid making the wrong connection to stay safe from any hassle.
Step 4
- Wrap the wires around the screws
Wrapping the wires around screws is easier with your fingers. But you have to make sure there is no visible portion of wires when you assemble the switch. Mistakenly if you exposed the wires too long, first cut the extra length and reattach the wires.
Step 5
- Cover the Switch
Place the switch cover on it and screw it well. There should be no visible wires around the switch.
Step 6
- Let’s try the new Switch
Recheck all the connections you’ve made and make sure everything is securely connected. It’s time to try the lamp. Plug and turn on the lamp.
You are done!
If it won’t. Repeat the steps and recheck the connections.
Related Topics:
Wrap up
Replacing a lamp switch is not as difficult as it might seem. By following the 9 easy steps outlined in this article, you can replace your own lamp switch with confidence and ease. With the right tools, some basic electrical knowledge, and safety precautions, you can have a new lamp switch up and running quickly – no electrician required!
If you run into any problems or have questions along the way, be sure to consult an experienced electrician for advice. With a new switch in place, you can enjoy peace of mind knowing your lighting is safe and efficient.
FAQs
Can I replace a Lap Switch easily?
Replacing or fixing a lamp switch is the simplest thing that can be tackled by anyone. But you need to follow the steps in the given sequence I’ve mentioned above.
What is the reason for the faulty lamp switch?
Like other electronic things, lamp switches can go bad over time. electricity short circuits or sparking could be a reason. But usually, lamp switches are long-lasting because they have simple functions to do.
1 thought on “How to Fix a Lamp Switch in 9 Easy Steps”